18 Jun

Posted By
0 Comment(s)
54721 View(s)
Hurricane Preparation
,
Hurricane Shutters
,
Installing & Measuring
How to Install Rolling Shutters
Tools and Materials Needed:
- Rolling shutters
- Measuring tape
- Drill and appropriate drill bits
- Screws and anchors
- Level
- Pencil
- Ladder
- Screwdriver
- Safety glasses and gloves
- Silicone sealant
Step-by-Step Installation Guide:
Measure the Window or Door:
- Measure the width and height of the window or door where the shutter will be installed.
- Ensure you have the correct size of rolling shutters for your measurements.
Prepare the Shutters:
- Lay out the rolling shutters on a flat surface.
- Check all the components and hardware to ensure everything is included.
Mark the Mounting Points:
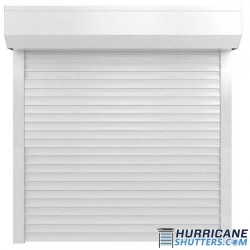
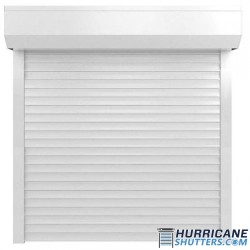
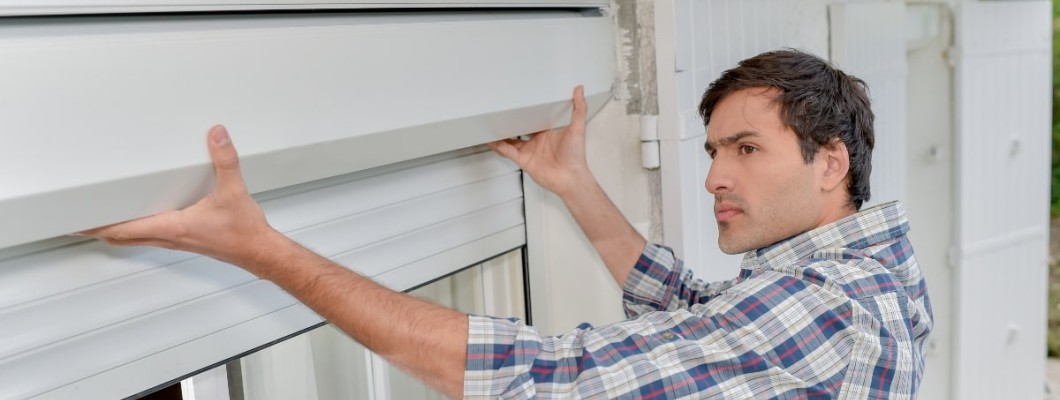
- Hold the shutter box (the housing that contains the rolled-up shutter) in place above the window or door to determine the exact placement.
- Use a level to ensure the box is perfectly horizontal.
- Mark the locations of the mounting holes on the exterior wall with a pencil.
Drill Holes for the Shutter Box:
- Put on safety glasses and gloves.
- Use a drill to create holes at the marked points. Ensure the holes are deep enough for the anchors and screws.
- If mounting into masonry or brick, use masonry drill bits and anchors.
Install Anchors:
- Insert the appropriate anchors into the drilled holes. This will provide a secure base for the screws.
Mount the Shutter Box:
- Align the shutter box with the drilled holes.
- Secure the box with screws. Tighten them using a screwdriver or a drill.
- Check with a level to ensure the box remains horizontal during installation.
Attach the Side Rails:
- Hold the side rails in place and mark the mounting points.
- Ensure the side rails are vertical and aligned with the shutter box.
- Drill holes and install anchors as needed.
- Secure the side rails with screws.
Install the Shutter Curtain:
- Unroll the shutter curtain from the box.
- Guide the curtain into the side rails, ensuring it moves smoothly.
Test the Operation:
- Use the manual crank or electric switch to roll the shutter up and down.
- Ensure the shutter operates smoothly without obstruction.
- Make any necessary adjustments to the rails or curtain.
Seal the Edges:
- Apply silicone sealant along the edges of the side rails to prevent water penetration.
- Smooth the sealant with a tool or your finger for a neat finish.
Final Check:
- Inspect all screws and hardware to ensure everything is tight and secure.
- Ensure the shutters are firmly attached and there are no loose parts.
Maintenance Tips:
- Regularly check the shutters for any signs of wear or damage.
- Tighten any loose screws and lubricate the rails and moving parts as needed.
- Clean the shutters periodically to remove dirt and debris.
By following these steps, you can effectively install rolling shutters, providing protection for your windows and doors and enhancing the security of your home.



-Mount-Standard-Sizes-0-1-250x250w.jpg)

-(10ft.-Sections-5ft.-Poles-On-Center)-0-1-250x250w.jpg)
-0-1-250x250.jpg)
